|
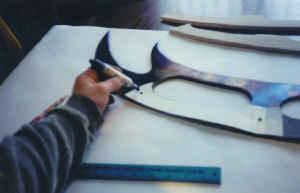
Place the paper pattern for your Bat'leth handle on top of the steel in position. Mark the placements you wish for the brass pins with a black marker. 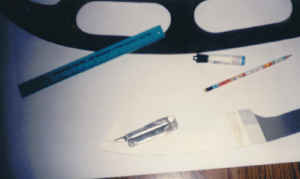
Punch holes in the marks you just made. I used my LEATHERMAN to punch a hole, but anything with a sharp point will do. Place the paper pattern back onto the steel of the bat'leth and useing the Black Marker again, mark the places where the pins will go on to the steel. 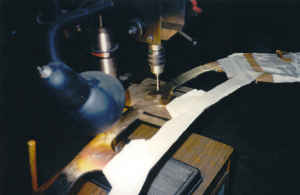
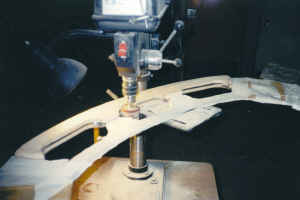
I next use the drill press to drill the holes in the steel where the pins will go. Use a drill bit that is slightly bigger than your brass pins. 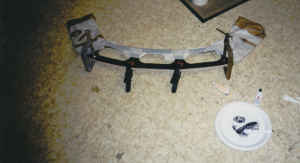
To attach the wood sides to the steel I use JB Kwik, due to its very fast set time. (about 4-6 min)
I use a good coat of JB Kwik then carefully clamp the first of the sides down so as not to let the wood move around as the glue sets up. Dont clamp things to tight, you dont want to push out the glue. The clamps are only ment to hold the wood in place and keep it from moveing. I also lightly sand the steel to give a place for the glue to hold on to. 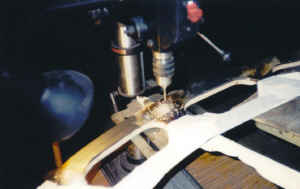
After the glue for the first wood side has had a chance to set, I then drill the holes for the pins. Some extra wood is held under the handle as you drill to prevent wood from splintering. the Bat'leth is flipped so that the steel side with the pre-drilled holes is up. This will show you where to drill the holes in the wood. I change drill bits now and use one that is the same as the Brass rod/pins. 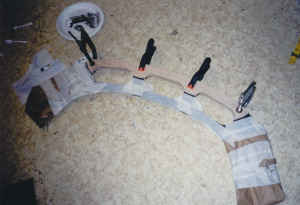
the 2nd wood side for the handle is glued into position.
Notice that I have covered the steel with a wrap to protect it from fingerprints while I mess with the glue. 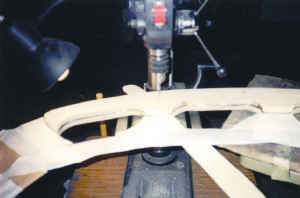
At the drill press again to drill the holes in the 2nd wood handle side.
Always place some extra wood under the undrilled side to prevent the drill bit from splintering the handle. 
useing a bolt cutter, I cut the brass pins to a size 1/4 inch longer than my whole Bat'leth handle is wide. 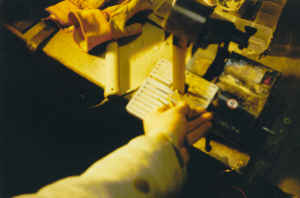
I next take the brass pins to my 1 inch belt sander and place a sharp point on one end of each pin. This is done to help me push the pin into the holes in the handle.
Although I drill the pin holes in the steel a bit bigger than the brass is, I try to use a drill bit for the wood sides that will make a snug fit for the pins. 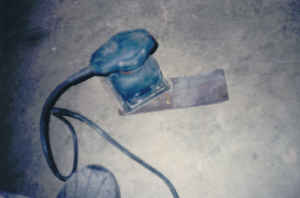
To help the glue hold onto the slippery brass pins, I sand them a little to make the sides of the pin scratchy. Lay the brass pins onto of some sandpaper, then use a palm sander on them,this works very fast! I again mix up some JB Kwik and dip each brass pin in it before I drive them into the drilled holes in the handle.
If the pins are as long as I wanted, they should stick out a bit on each side. (about 1/8 inch) 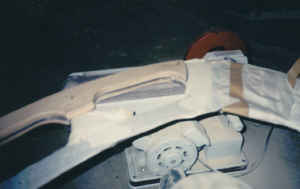
After Im sure that all the glue I have used so far is set, I then can start to sand the handle. The first job is to sand down the brass pins that stick out on each side. I move to my 4 inch belt sander to sand down the pins as well as the wood sides. 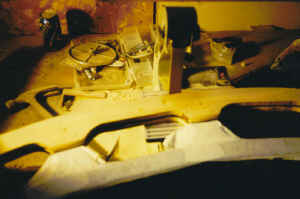
Returning to the one inch belt sander, I sand down the handles outer edge to match the steel. The inner parts of each hand hold were a real problem to sand down.Untill I found some sanding drums that would "chuck" into my drill press As you can see, the chucked in sanding drum makes short work of this tricky area. I have to be carefull with this tool, for I cant let the sanding drum hit the steel parts of my Bat'leth , or it will take off some of the Heat-treated colors. 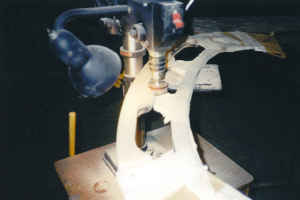
|