DaQo'tah Forge
TajtIq-The Long Knife

HOME

The Sword of Vengeance!
The Sword of Honor
The Bowie'Leth
Meqleth
TajtIq-The Long Knife
The Klingon* Bat'leth
Bat'leth handle (step 1)
(Step 2)
(Step 3)
Warclub Design
Warclub Construction
The Color of the DaQo'tah Blade
The Bat'leth Road Test
EMAIL DaQo'tah

This weapon appears in the latest issue of a science fiction magazine. There it is being used by a warrior who is engaged in a battle against another who is armed with a batleth. I figured any sword that could be employed against such a dangerous weapon as a batleth is truly a warrior's blade, and would make a fine addition to my armory.


The first thing I did was to try to make some mental calculations as to what is the actual size of the weapon as it appears in the illustration. I roughly came up with the idea that the sword appears to be two feet long. Using this ad hoc number as my basis, I printed out an enlarged photograph of the sword.

Using this enlargement, I carefully made some measurements and did some preliminary diagrams of what the weapon could look like. Photocopied enlargements often tend to distort the true edgelines, and so here I had to compensate for this. Using the two foot length that I had determined earlier as the length of the weapon, I then calculated its width and other dimensions along its contoured length.

1.jpg


With the numbers derived from the photocopied enlargements, I began to make a series of sketches of my own version of this weapon. The tools necessary for this type of work that helped me the most are a selection of French curves, rulers, drawing compasses, calculator, and a common tape measure.

The design stage is always the most challenging. To be confronted by a blank sheet of paper and realize that it's up to you now to design this weapon, can become quite an ordeal. On this particular weapon, I produced seven or eight rough drafts before I had a design that I was happy with.

1.jpg


Due to the great length of this weapon, my need for a sheet of paper of the necessary length requires me to attach three different sheets of standard typing paper end to end, using masking tape. This long sheet of paper will not actually be the finished pattern, but will only be the place where I design the weapon's outlines.

When the design became finalized, I carefully cut out this design. Next I had to transfer this design to some hard stock paper that will eventually become my weapon pattern.

After the thinner paper design has been cut out, I tape it to the hard stock construction paper, then carefully trace around it, transferring the design onto the hard stock.

1.jpg


Once the design has been transferred onto the hard stock paper, I removed the taped-down design and carefully cut around the outline of my hard stock paper. This hard stock paper will be the actual pattern that I will glue to the steel myself.

1.jpg


It is very important that the steel be clean. Common mild steel that is purchased at a construction supply outlet often has a film of grease and oil on it. This would prevent the glue from adhering the pattern down. I like to use not only soap and water to clean the steel, but also Windex, which seems to clean the oily fingerprints very well.

I then use plenty of spray glue and stick the paper pattern to the steel.

To cut out the pattern from the steel, I take the sheet of steel out to my forge and use my drill press to drill a series of holes all around the pattern perimeter. I try to make each drilled hole ever so barely touching the previous hole. This will allow me later to use the bandsaw to slice between each of these holes, thereby freeing the pattern from its bed of steel.

1.jpg


Now, I know that many weapon makers advise using a good cutting oil, but I try to avoid using this sloppy messy stuff as much as possible. One trick I have learned is to drill around the pattern in two passes. I make my first pass all the way around with the drill press, but only drill into the steel about half way through. This preserves the life of my drill bits, and it also keeps the steel a lot cooler. After I have drilled all the way around the pattern one time, drilling only half way through each time, and I have found it a lot easier to go around the second time and finish drilling each hole. The drill bits don't seem to overheat as fast, and if your drill press does begin to bog down a bit, the half-way drilled holes makes a neat little place to put a drop of cutting oil.

t7.jpg


The metal cutting band saw is a truly marvelous and timesaving tool of the modern weapons maker. By going slow and advancing the steel into the blade cautiously, I find I'm able to prolong the life of the bandsaw blade. With this particular weapon, I was able to cut out most of the the design with the bandsaw. In those areas in which there is a curved radius that is unapproachable to the bandsaw blade, I switched to the jig saw.

1.jpg


The jigsaw, furinished with brand new metal cutting blades, was used to do the tight curves found in the weapon's cut-out areas. Although that you might think that trying to cut 3/16" steel is asking a bit much from a tiny little jigsaw, you have to remember that you're only cutting the paper-thin little piece of steel between each drilled hole.

1.jpg


Once you have the steel pattern cut free from its bed, you have to next get rid of all the little nibs that are left over. These nibs were the result of the little steel that was between each drilled hole that you cut through. Now, originally at this point I used to take the weapon to the grinder and grind off the little nibs one at a time. This was very unpleasant to do, and the chance of making an error was very significant. However, recently I have discovered a type of metal-cutting rasp that I chuck into my drill press that makes short work of getting rid of the nibs.

1.jpg

Going in the house after my first day of producing this weapon, I saw that the weapon was close to the correct length according to the artwork, and I think it's a very good approximation of that weapon.

Later that night, I went out to my shop and did some sanding and grinding to place a sharp edge on to the knife, as well as trim up and disk-sand the sides.

DAY 2

I started out the second day of construction on this long knife by concentrating on the handle. I knew this design was going to be a bit different from my previous battle knives (see my gallery).

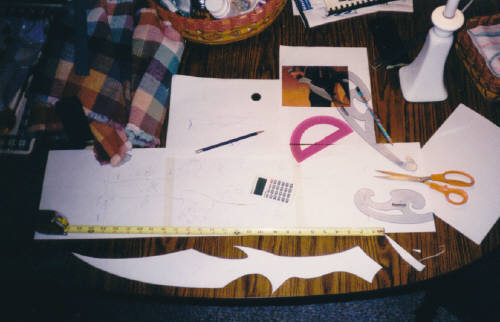
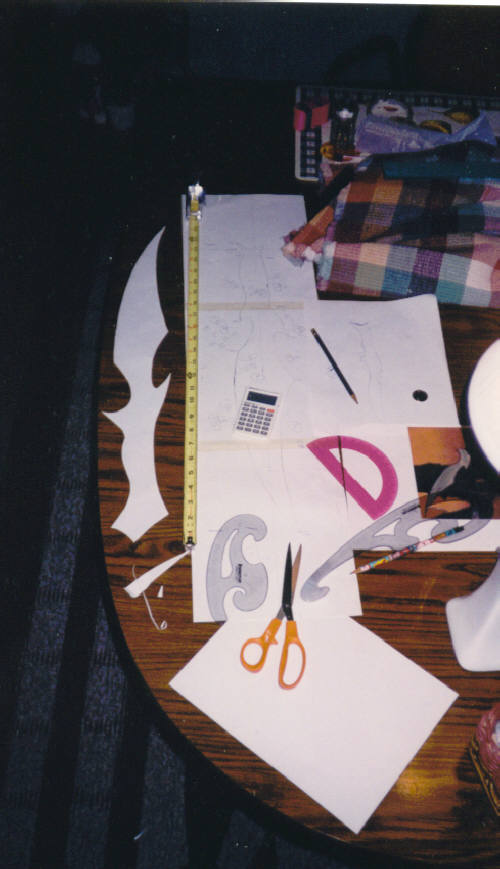
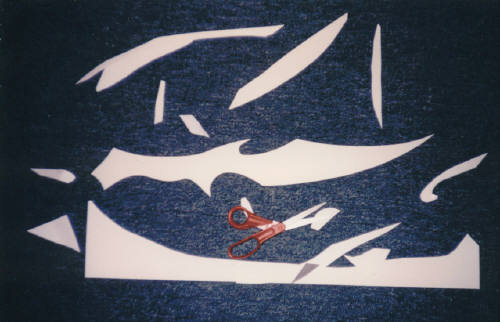
The first step was to take my knife to the kitchen table, lay it on top of the hard stock paper that I use for my patterns, and carefully trace around the entire knife outline. I then cut out this paper outline and, using a pencil, tried out different designs for the handle. My main design concern was to make this handle look a bit different than most Terran blade handles.

In addition,I had to make sure I left at least one inch of steel near the butt end of the handle exposed so some of the steel would show through, as seen in the artwork where this knife is shown.

1.jpg

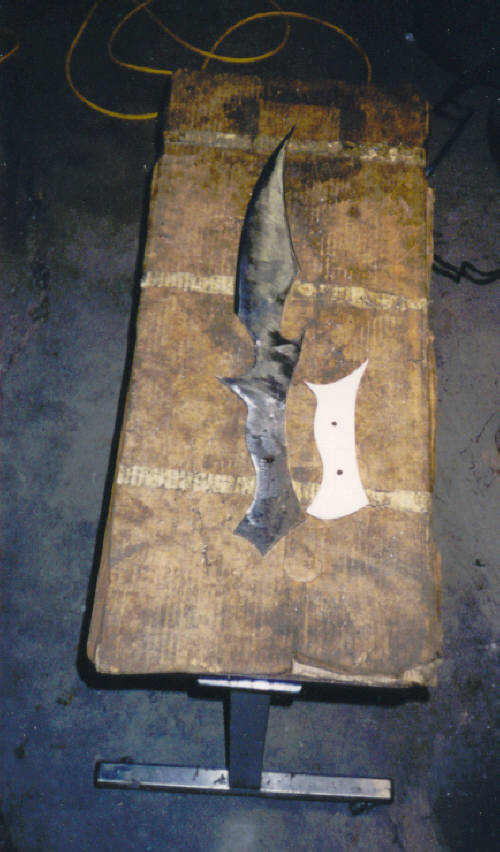
Once I had a good design drawn, I cut out the handle and marked on it where I wished the brass pins to go. Then I punched small holes through the paper at the pin locations, placed the paper on top of the steel of the knife, and used a magic marker to dab ink into the holes, leaving marks on the blade to locate where to drill the holes.

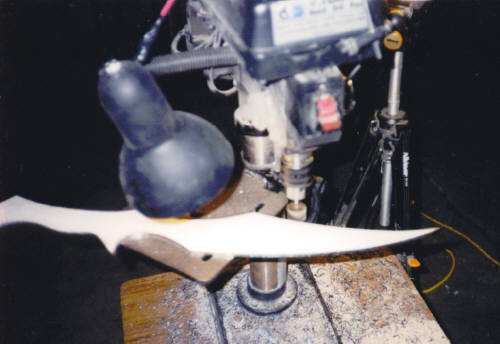
It's now time to bundle up and head out ot the forge where I used my drill press to drill holes where the magic marker marks indicated.

1.jpg


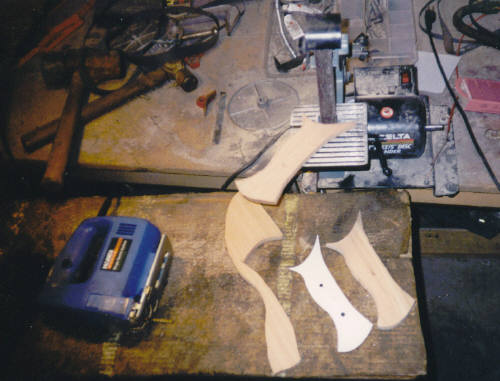
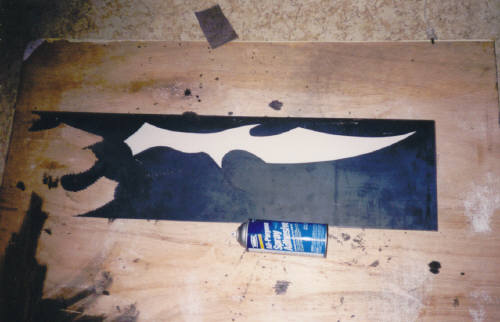
Next I took my paper pattern, placed it on the wood for the handles and traced around it. I did this a second time, one for each side (always make sure that the pattern of both wood sides are marked so that the same side is aways up).

When you cut out the oak handle slabs, you always leave a little extra wood on the sides to be sanded down later. However, on the ends (i.e., the parts that border the knife blade) you trim this very close. Then take the handle to the sander and place bevels on the ends. This is done because you will not be able to sand this part of the handle later without scratching the finish on the blade.

1.jpg


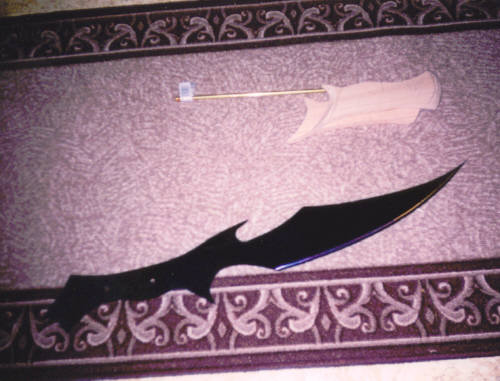
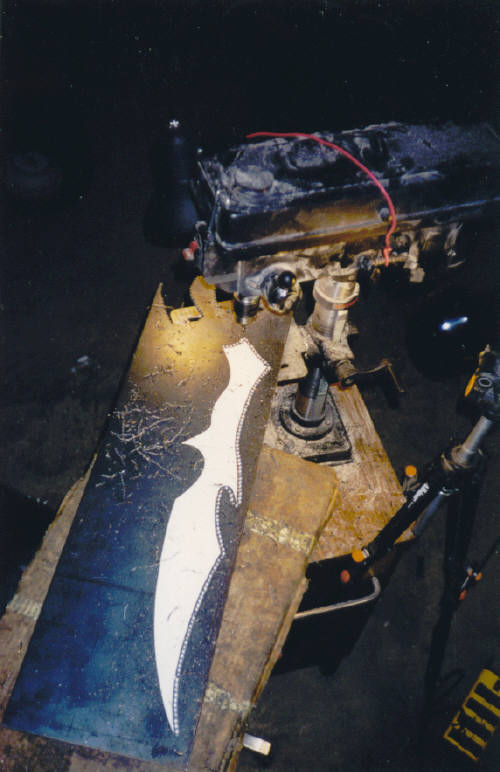
The next step is coloring the steel. Now, I don't really have any photographs of the actual process because it was surprising how little time it took to color the steel on this particular weapon. For more information on how I color-treat the steel, please refer to "The Color of the DaQo'tah Blade", webpage on this site. I colored the steel with a torch until I achieved remarkably dark blue to dark violet colors.

1.jpg


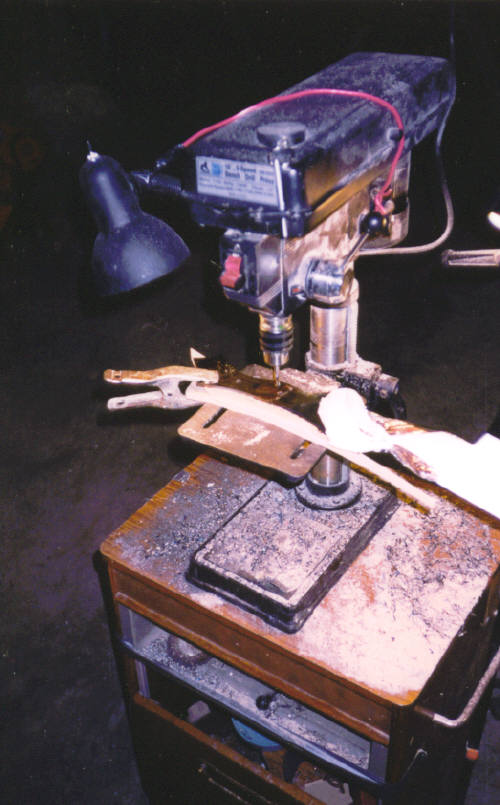
Gluing the handle on comes next. There are several steps. First I glue on one of the oak slabs into position on the knife handle. I use JB Quik Weld, a type of epoxy with an extremely short setting time (around six to eight minutes). Once the first handle's slab glue is set, I use the drill press to drill the holes for the pins. To do this, I simply set the weapon with the one oak slab pointed down and drill through the holes in the steel. I like to have a piece of scrap wood under the oak handle to prvent the drill bit from tearing the wood as it emerges.

I then glue the remaining oak handle on, take it to the drill press (again, flipping the blade so the undrilled piece of oak is on the underside) and drill from the top through the previously drilled holes, so I end up with precise holes.

1.jpg


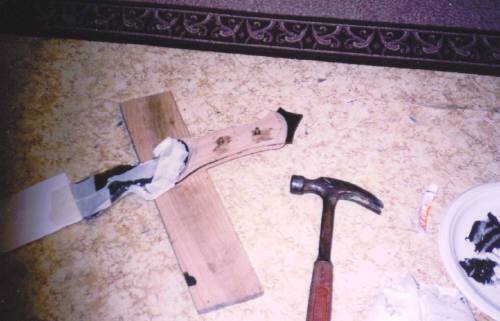
The next thing is to place the brass pins into the handle to help stablize it. To make brass pins, I cut a section of 1/4 inch thick brass rod to about a half-inch longer length than the thickness of my glued handle. I take the brass pins to the belt sander where I slightly bevel a point on the end of each pin. This point will help ease the pin into the oak wood which sometimes can be rather snug. I then take both pins, lay them on a sheet of sand paper and then use my electric palm sander and sand the pins for a few seconds. This is to scratch the pin's surface slightly so it will cling to the epoxy better. I mix up some JB Quik using a paper plate and plastic spoon, drip a bit of the epoxy into the pre-drilled holes in the knife handle, then roll the brass pin in the epoxy before placing it, pointy end down, into the hole in the handle.

Then I carefully tap the pin down into place, making sure that about a quarter-inch or so pops out the other side. After the pins are set, I have found that the brass pins sand down extremely easily with the belt sander.


Continue sanding on the weapon, starting with the coarser sandpapers, until the handle feels comfortable in your hands. I like to start with an extremely aggressive 60 grit sandpaper to take off the bulk of the sharp corners, then switch to 120 on my electric sander, then finally finishing with some of that auto-body black sandpaper.

1.jpg


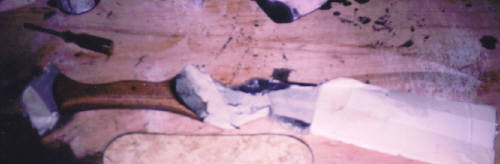
Staining the weapon handle is easy and fun, but you must remember to take steps to keep your blade's finish protected. I tape my blade as best I can with masking tape and try not to use too much stain (to avoid drips onto the blade). I have read in some knife magazines that the next step is to lightly sand the weapon and stain it again. I have yet to try that method, but it does intrigue me. After the stain is good and dry, apply a protective coat of whatever lacquer or polyurethane you wish. Again, you can sand the handle after this step if you want.

1.jpg


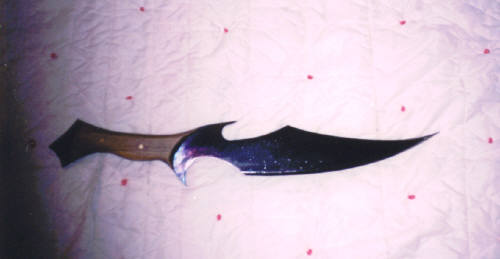
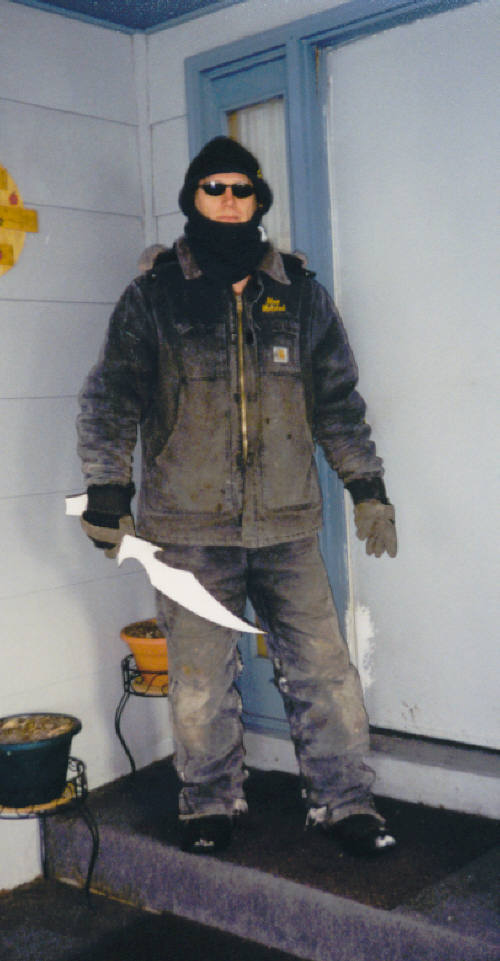
Because my weapons are so darkly colored, it has proven to be very challenging to display them properly. Lighting a weapon such as this requires a little imagination, as well as the placement in the room to do the most justice to your weapon.

1.jpg

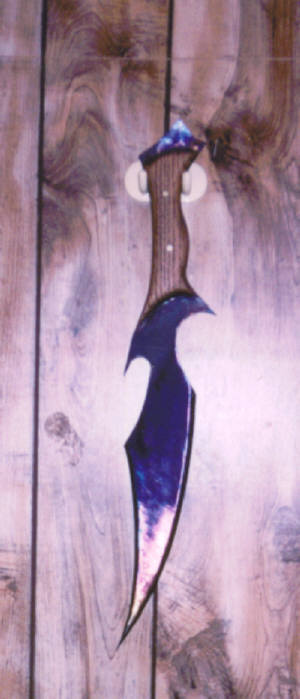
I've chosen to display this particular weapon at the foot of the stairs, for there it seems to dominate the eye of my guest as they enter into my rec room.

1.jpg

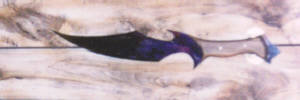
Please let me know if you have any questions about the production of this weapon. There is a spot on my website where you can contact me, or simply e-mail me at daqotah@hotmail.com.