|
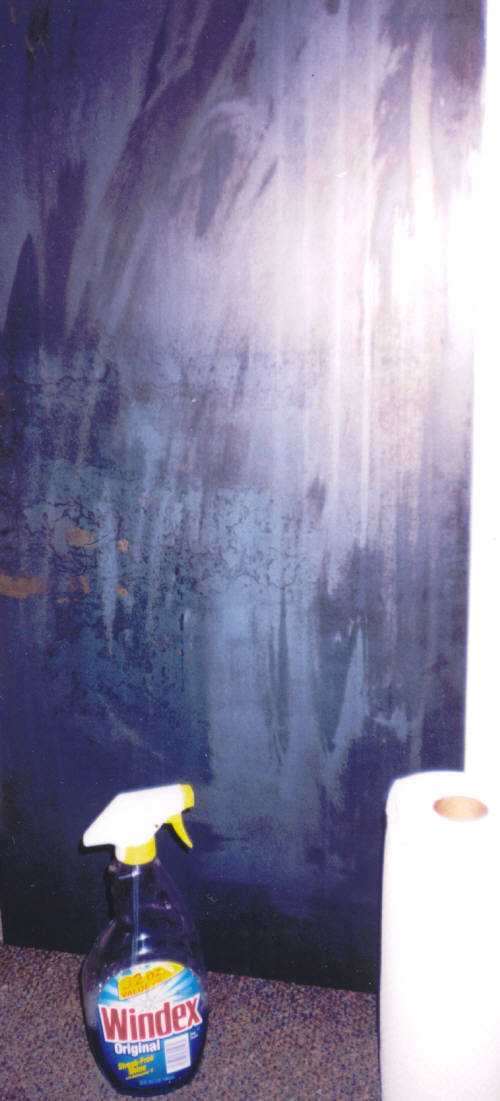
| The 3/16 mild steel is cleaned. |
|
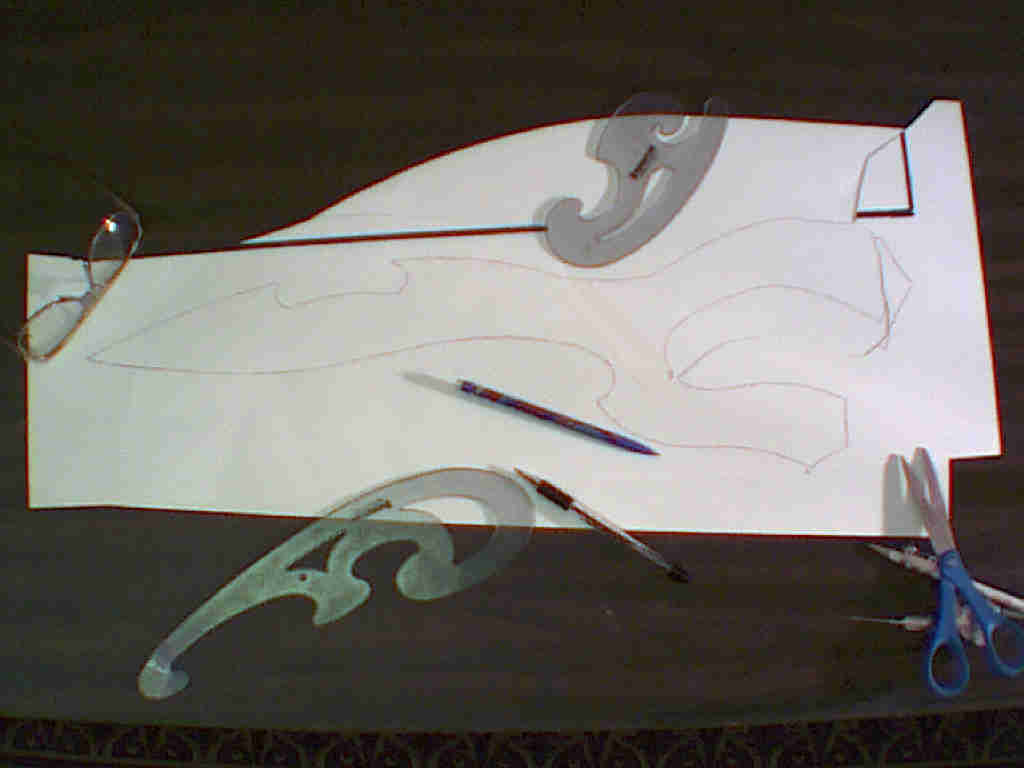
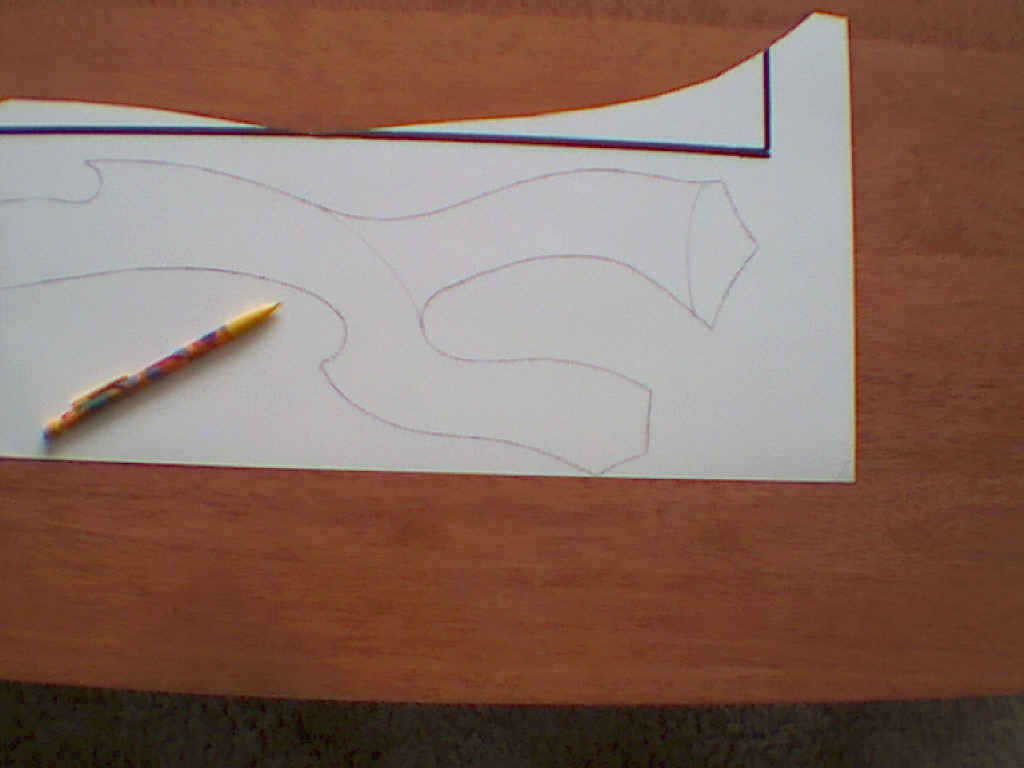
| The pattern is drawn, cut out, and glued to the steel. |
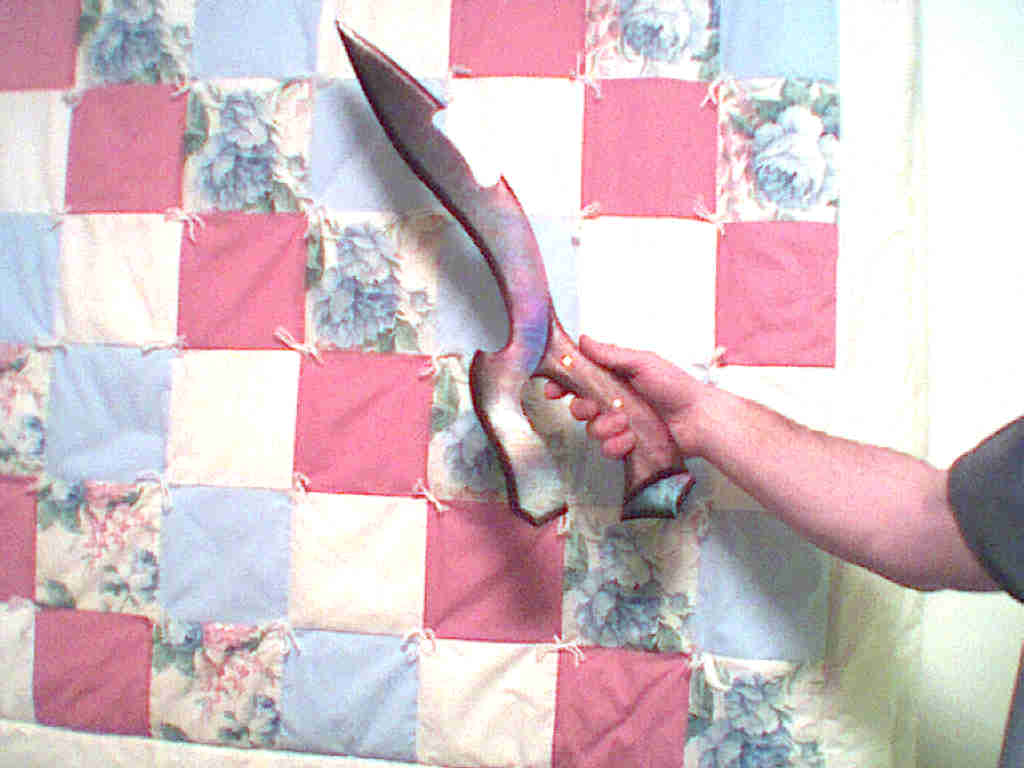
As you will see in the subsequent photos, I have changed the normal design of the weapon called the Meqleth or Mek'leth.
The Biggest problem I felt the Mek'leth has, is the fact that it's a "Block & Chop" weapon only. Its lack of a "Stabbing Point", limits its use in battle.
I decided to add the needed stabbing point to the far end, and then break up the outline of the weapon's back with a interesting cut-out.
This cut-out is also meant to be used as a Blade Catcher,again something that the regular Mek'leth lacked along its back edge.
Once you clean the steel, and draw a paper pattern that is glued to the steel, you next drill around the pattern. Then use the bandsaw to saw between the many drilled holes.
Don't have a bandsaw? No problem, just use your jigsaw with new steel cutting blades. Remember you are not cutting the full 3/16inch steel, but only the paper thin steel between each drilled hole.
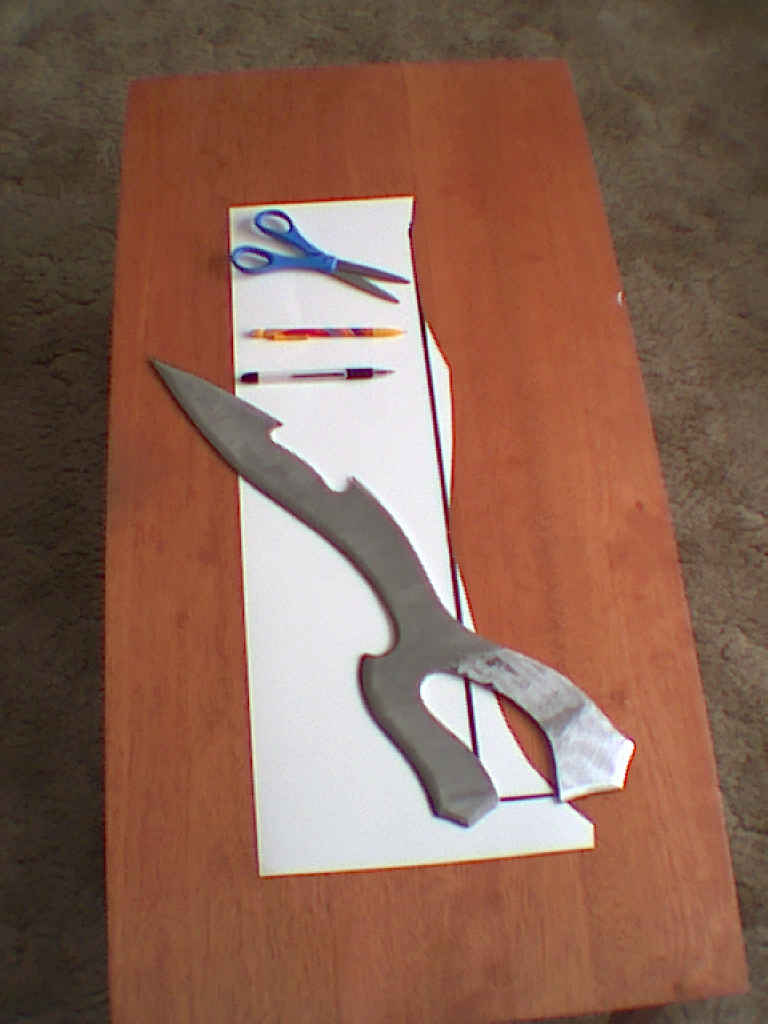
For the next step we move the action to the bench grinder.
Grinding To The Pattern Lines.
I use a bench grinder, as well as a type of round rasp that "chucks" into my drillpress. The only problem with the use of the bench grinder is the heat builds up fast. I have to watch that I don't burn my glued down pattern.
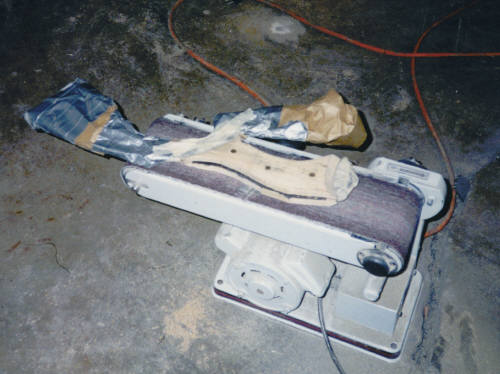
After the rough grinding, I next take the blade to my bench belt sander and trim everything up.
Next its time to place the sharp edges on the weapon.
I then use a sanding disk that has been "chucked" into my drill press, to finish the sides ready for the coloring.
The following text is meant to slow you down! I need you to read carefully this next part to allow enough time for the remaining photos to load onto your computer screen.
How To Make The MeqLeth Handle.
The following series of photos well document the procedure that DaQo'tah uses to finish the handle area of his Meqleth. Now those of you who are more experienced weaponsmiths make indeed cringe at some of the techniques that DaQo'tah employs, but be patient, for DaQo'tah is still learning this craft.
The Reason DaQo'tah felt that a more detailed explanation into his handle making routine was necessary, was due to some email he recently received. Many of his fellow brothers in his weapons making hobby have commented that they had created their own meqleths, yet never bothered to make the wood spacers.
Why make a wood handle when the Meqleths on the Tv show only have handles grips of wrapped leather?
DaQo'tah has realized that the wood handle sides to the Meqleth are key to comfortably holding onto it, as well as provide a more "real" feel to the finished piece.
By following along with the photos below, you should be able to see how the method DaQo'tah uses to create his handles is both fast and easy to complete.
The type of wood DaQo'tah likes to use on all his handles is American Oak. Both for its availability and its image as a strong wood. "Oak means strength".
| step 1 |
|
| You need paper,pen,pencil,and scissors. Center steel and trace around. |
I like to make all my patterns out of a harder stock paper sometimes called "poster board". It sticks to the steel well, and holds up against heat from grinding.
| step 2 |
|
| Draw in Handle ends. |
| Step 2a |

|
| Closeup of Handle drawing. |
| Step 3 |
|
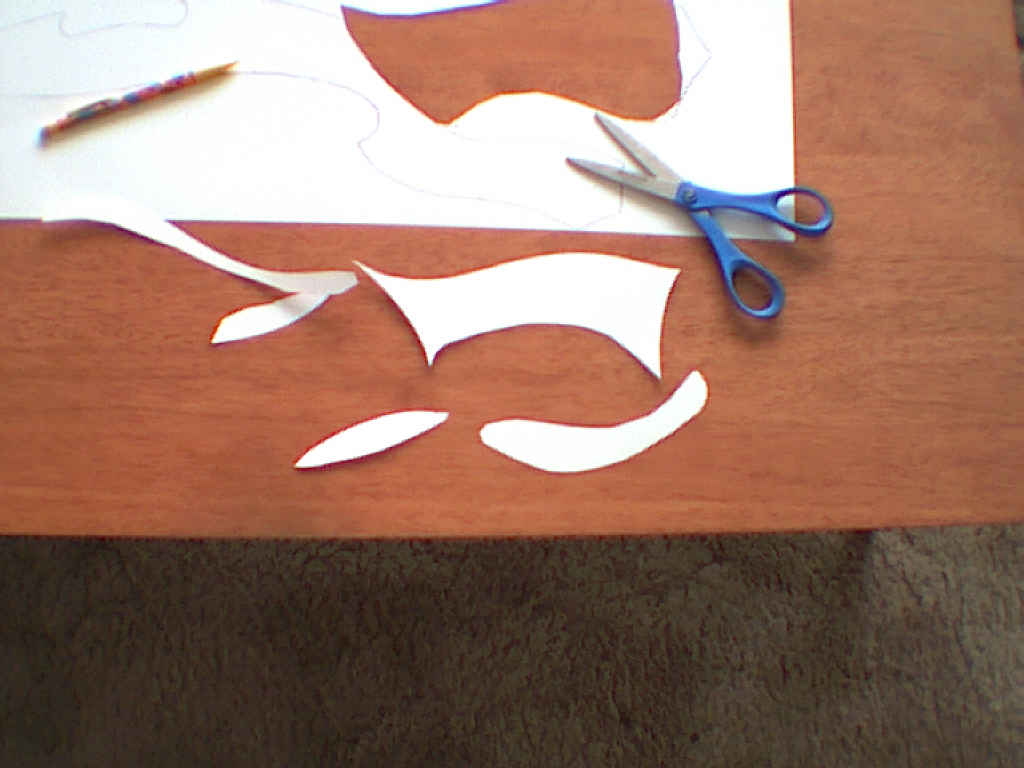
| Cut paper pattern out. |
| Step 4 |
|
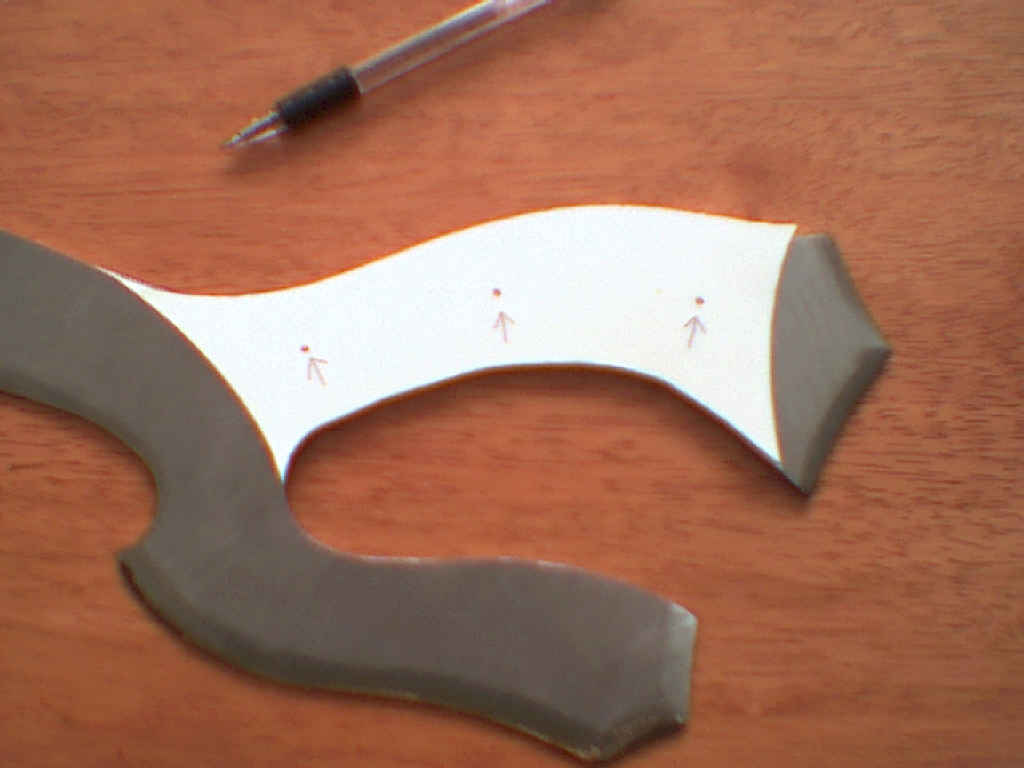
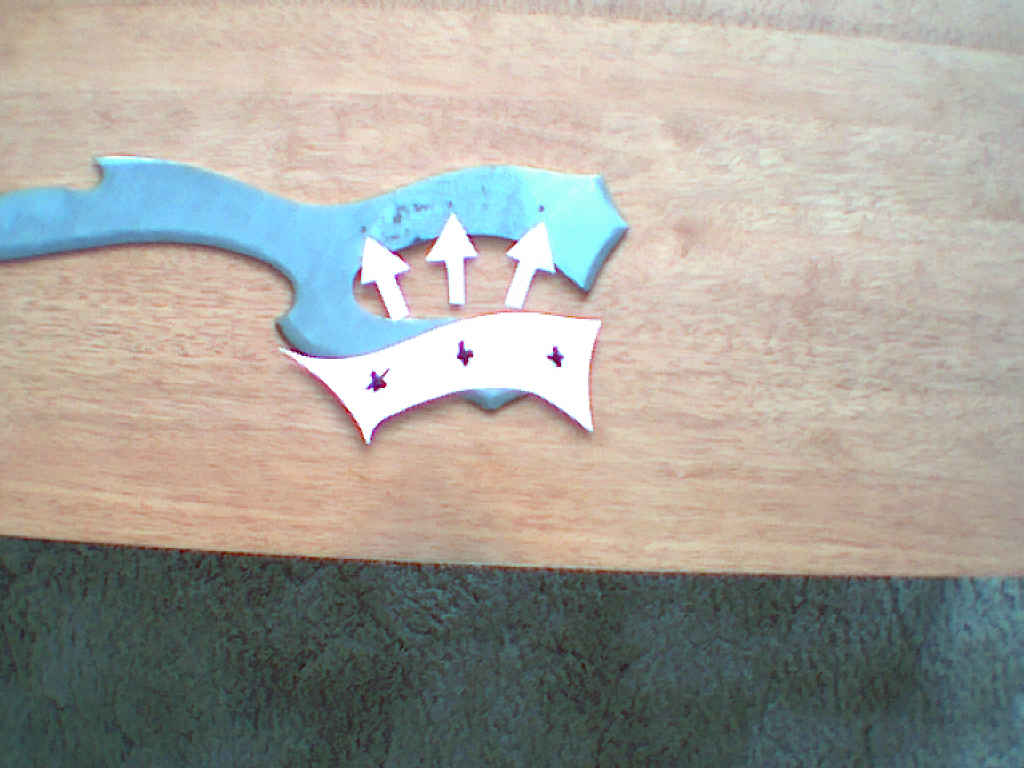
| Position on steel, Mark holes for brass pins. |
| Step5 |

|
| Flip pattern over, poke holes were indicated. |
| Step 6 |
|
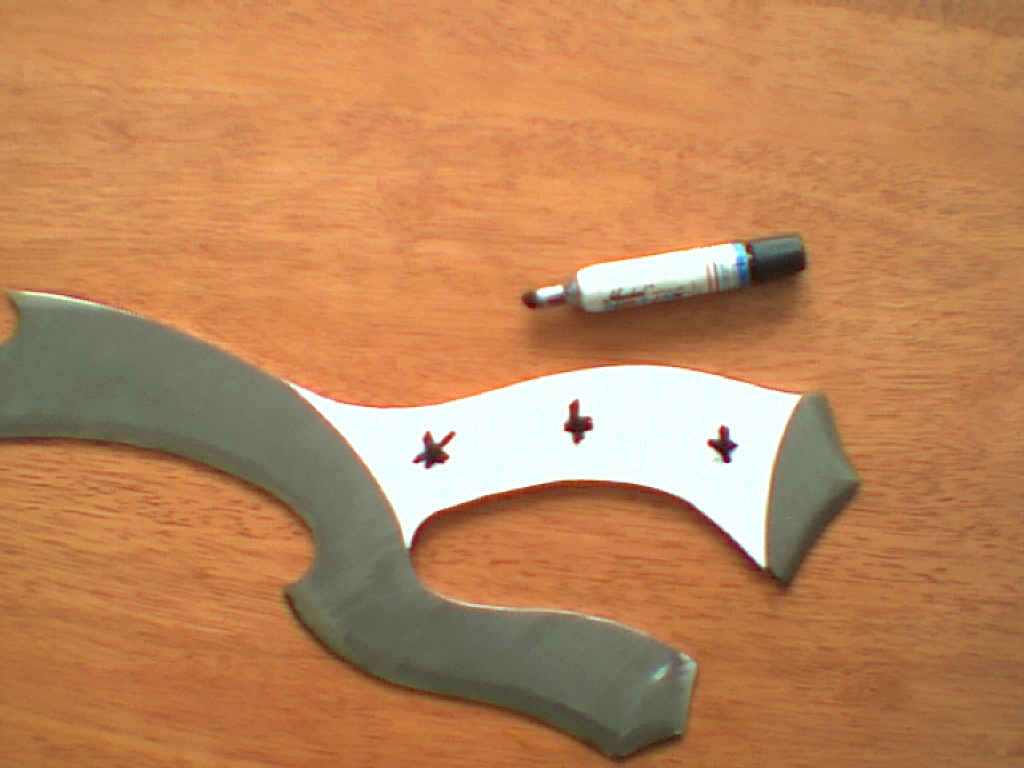
| Reposition and fill-in holes with marker. |
| Step 7 |
|
| Confirm that the location of pin holes has been transfered to steel. |
| Step 8 |
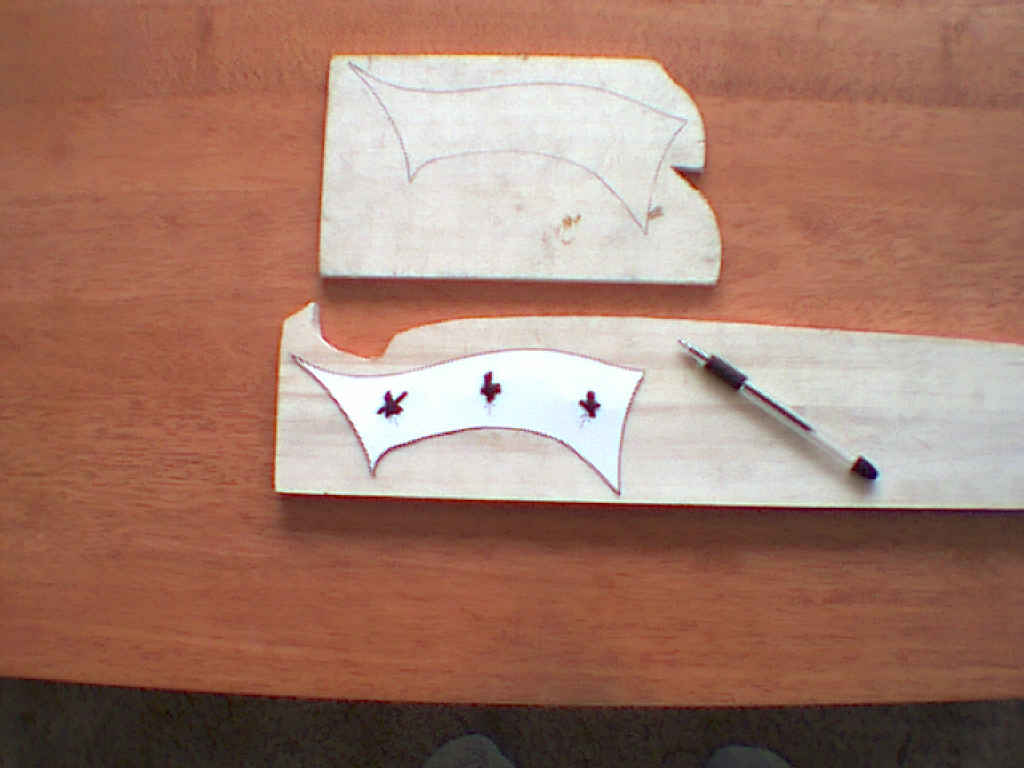
|
| Trace around pattern onto two pieces of handle wood. |
We do not have to mark the brass pin placement positions on the wood handle sides.
| Step 11 |
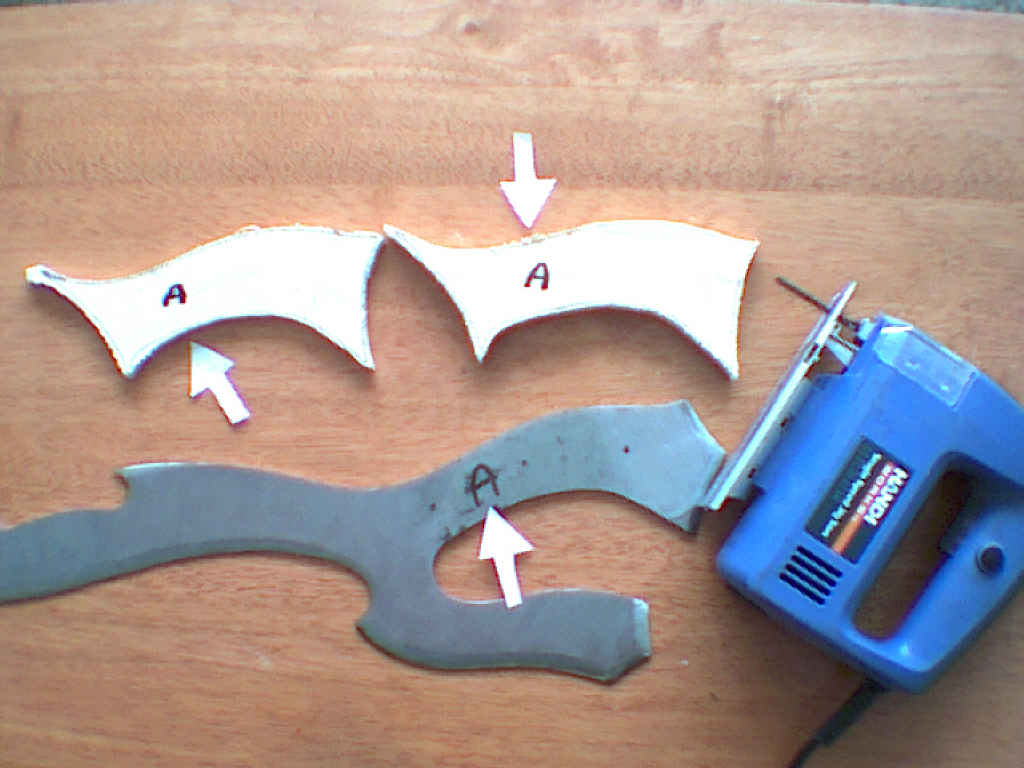
|
| Cut wood sides with jigsaw, mark the "up" side on wood and steel. |
| step 10 |
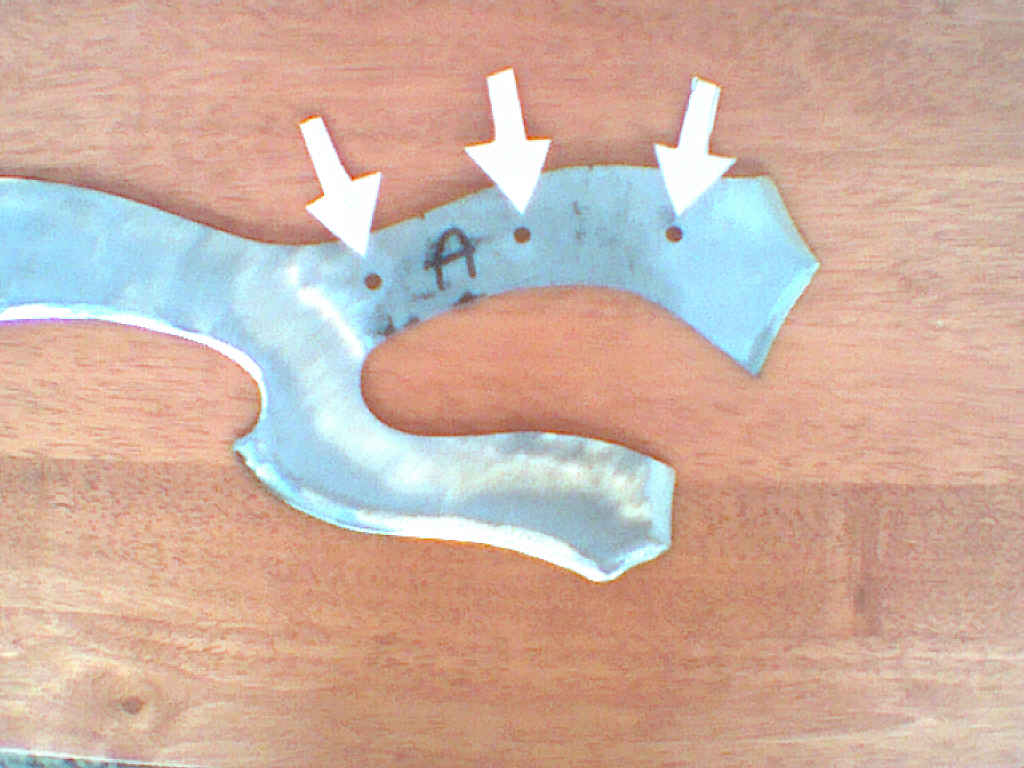
|
| Drill pin holes in steel at their marked location. |
When I cut the wood for the handle, I like to have a bit extra wood past the pattern lines to sand down to. The Brass pins will be made out of 1/4 inch brass rod that is just cut to however long you need it.
| Step 11 (optional) |
|
| Heat steel until color changes. |
| step 12 |
|
| Allow colored steel to air-cool |
For more information on why DaQ'tah colors his weapons and how this is done, check out The Color Of The DaQo'tah Blade page on this website.
| Step 13 |
|
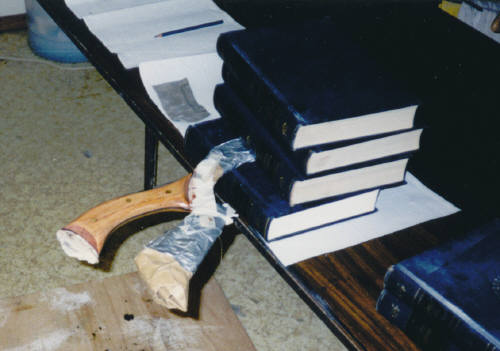
| Tape handle sides together and sand the ends round. |
| Step 14 |
|
| Cover blade to protect it, prepare to glue 1st handle side. |
Most of the wood on your handle can be sanded after it is attached to the steel except for the top and lower ends. They have to be pre-sanded because if you waite you will most likely scratch the nice steel of your blade.
No matter if you color your blades like DaQo'tah or not, you should always cover them with some type of protection from fingerprints.
| Step 15 |
|
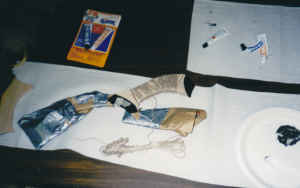
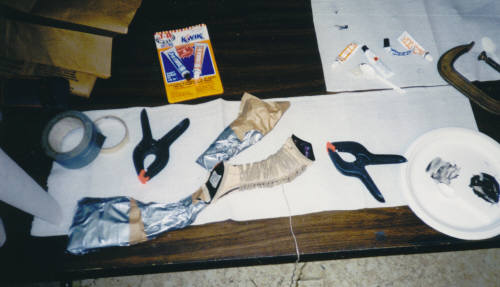
| Mix glue (JB KWIK) apply to handle ,position and wrap with string to hold. |
I like to use string to hold hold everything while the glue set up because it will not press the glue too hard and hurt the joint as many clamps tend to do.
After the glue is dry, drill the pins holes in the 1st wood side.
Do this also after the 2nd wood side is done as well.
| Step 16 |
|
| Mix glue, apply to 2nd wood side and position. Wrap with string to hold. |
| Step 17 |
|
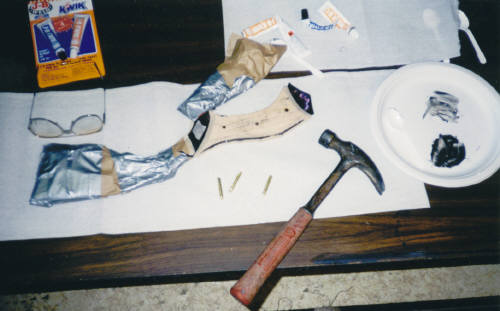
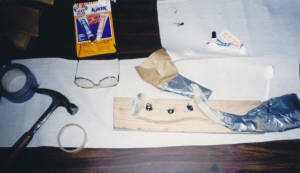
| Drill 3 pin holes in 2nd wood side, prepare brass pins. |
| Step 18 |
|
| Mix glue, apply to pins, tap into place. |
| Step 19 |
|
| Sand handle smooth. |
| Step 20 |
|
| Stain handle. |
| The Last Step! |
|
|
| Strip off protective cover, and enjoy! |
This was a fun weapon to make, and the oak handle makes this truly a item that can be passed down in a family.
I hope that by my showing how I make my oak handles, I have helped others learn a easy way to add one to their Meqleths.
I would love to hear from you about this webpage as well as the weapon we have just made.
To write to the artist DaQo'tah, just click on that webpage, or write him at-
|